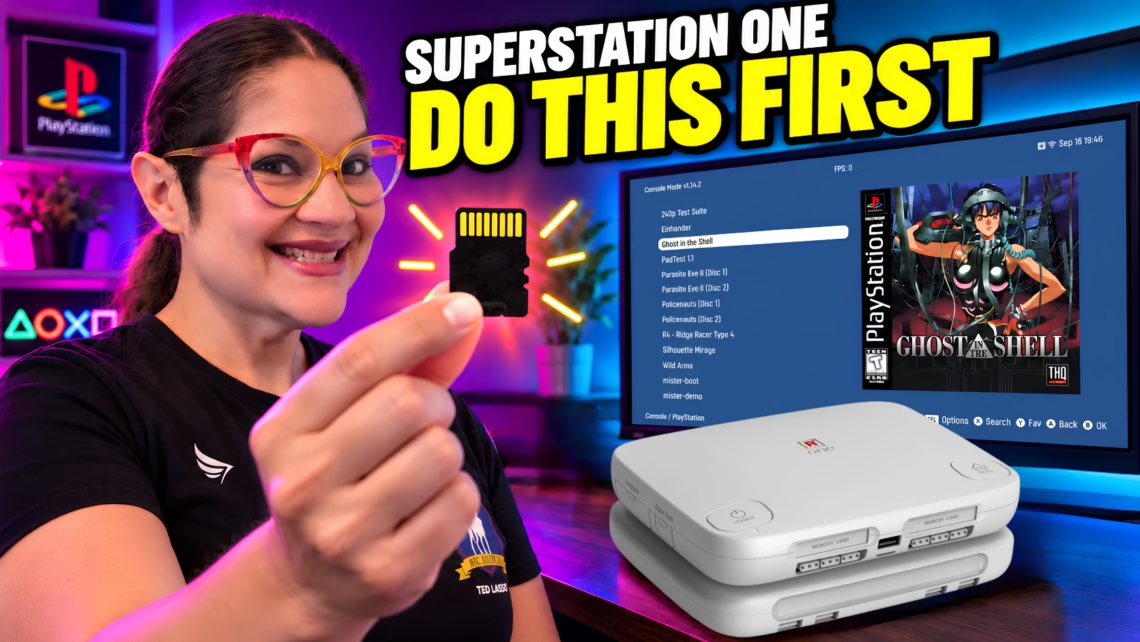
Console Mode is Retro Remake’s custom front end for the SuperStation One. It turns the console from a computer running MiSTer into something that behaves like a games machine, which is what most people wanted when they ordered one. This guide covers a clean install, so nothing below depends on the state your card is currently in.
Version numbers move quickly on this platform. Check the official documentation against anything here before you flash.
Before you start
- The SuperStation One and its microSD card
- A computer with a microSD reader
- balenaEtcher or Rufus for flashing. Retro Remake’s own instructions name these two. Raspberry Pi Imager also works, which is what we used on camera
- A USB or Bluetooth controller, or a USB keyboard, for the setup itself
- A power supply rated at 5V 2A minimum, or a USB-C PD charger
- Your own legally obtained game files, and any BIOS files those systems require
1. Back up what is already on the card
Power the console off, pull the microSD card, and put it in your computer.
Retro Remake’s own guidance is to copy the /games/, /saves/ and /savestates/ directories to your computer before flashing anything. Those are the folders you cannot get back. If you want belt and braces, take a full disk image of the card as well, but at minimum save those three.
This is the step people skip. The card ships pre-configured. If a later step goes sideways, a backup is the difference between a five minute restore and a weekend of forum reading.
2. Flash a fresh Console Mode image
Console Mode is distributed separately from the base firmware. Grab the current image from Retro Remake’s Console Mode Distribution repository. The same repository hosts the kernel and Linux image for anyone doing an upgrade install rather than a clean one, though the upgrade path is more involved and we are not covering it here.
Open balenaEtcher or Rufus, select the image, and choose the microSD card as the target. Check the drive letter twice. Flashing erases everything on the selected drive, and the one time you do not check is the time it is pointed at your photo backup.
When it finishes, eject the card safely and put it back in the console.
3. Hook it up and let it finish booting
Connect HDMI from the television to the SuperStation One itself, not to the SuperDock. This catches almost everyone once.
Plug in power and switch it on. The first boot runs an automatic installer that prepares the card and finishes the setup, and it took roughly fifteen minutes for us. It will look like nothing is happening. Leave it alone.
If the console does not reach the menu after the installer finishes, flash the card again and repeat. That is the documented fix, not a sign the hardware is broken.
4. Get online
You need a network connection before the update step. Press Escape to reach the MiSTer menu, then go to Scripts and run the WiFi script. Wired Ethernet through the dock works too if you have it.
5. Copy your games onto the card
Power off, pull the card again, and open the games folder on your computer. Inside you will find a directory per system.
/games/PSX/
/games/SNES/
/games/Genesis/
Drop PlayStation titles into PSX, and so on. Subfolders work fine if you like your library organised by genre or region.
The SuperStation One ships with no commercial games. You supply your own files, and some systems will not boot at all until you also supply the BIOS they expect. The console does come with a set of homebrew titles preinstalled, though be aware that several of those are demo builds rather than full games, and the file names do not always make that obvious.
6. Add the update_all script
update_all is the MiSTer community utility that pulls down cores, support files and databases so you are not chasing individual downloads forever. The SuperStation image does not ship with it. Download update_all.sh and put it in the Scripts folder on the card.
/Scripts/update_all.shDo not run it yet. The next step is the one that keeps it from breaking things.
7. Drop in Retro Remake’s downloader.ini
This is the step that matters most, and it is worth understanding why rather than just following along.
The SuperStation One runs a customised build of MiSTer. Its cores use framework changes that are not yet in the mainline MiSTer cores, and those changes are what give you automatic composite and S-Video output. A stock update can overwrite them, along with the system components Console Mode and the SuperDock depend on.
Retro Remake publishes a pre-configured downloader.ini that tells update_all which parts of the system it is allowed to touch. Put it in the root of the card.
https://github.com/Takiiiiiiii/SuperStation-Documentation/blob/main/INI_Files/downloader.ini
/downloader.iniIf you already have a downloader.ini, read it before you replace it. If you have customised it, merge rather than overwrite. Always pull the current recommended version from the documentation rather than copying an older one out of a forum post.
If you do lose analog output to an update, it is recoverable. Flip DIP switch 3 inside the right flap to the up position and change the .ini file selection in the menu.
Eject the card safely and put it back in the console.
8. Connect a controller
Console Mode is designed so that an original PlayStation controller can navigate the interface with no extra setup. If yours is not responding, that is almost always the SNAC bypass issue covered in the troubleshooting section below rather than a configuration problem.
There is a caveat worth knowing. Once you load most cores, the PlayStation core being the exception, you will need whatever controller or input device that core expects. A modern pad or a USB keyboard is also the easier way to move around the MiSTer menus outside Console Mode. We used an 8BitDo Pro 3 over USB and set up Bluetooth afterwards.
To reach the Bluetooth pairing menu, hold the menu button down for several seconds, or press F11 if you have a keyboard attached.
9. Run update_all
Go to Settings, then the debug menu, then Scripts. Find update_all.sh and launch it.
Before it starts downloading, press up on the d-pad to open the configuration menu. For our setup we enabled:
- The main MiSTer distribution
- Additional cores
- Supporting databases
- Physical disk support
- The BIOS database, for the systems we actually use
- Physical CD support, if you have the SuperDock
Some options throw warnings, particularly those involving BIOS files and extra content. Read them rather than clicking through. Options also move between versions, so follow the current documentation instead of switching everything on and hoping.
Save your settings and run the update. How long it takes depends on your connection and how much you asked for. Let it finish, then restart the console if it asks you to.
10. Turn on box art
Console Mode can show your library as a plain list or as a grid with cover artwork, and it will download the artwork for you. Switching to the visual layout is the single change that makes the machine stop feeling like a file browser.
It is cosmetic. It is also the step you will be glad you did every time you turn the console on.
Go to Settings and then choose Rebuild Game Database.
Go to Settings, Game Library, Scrape Art Work. Select your system then select Start.
In the Display Options, you can change how the artwork is displayed.
When something does not work
The original PlayStation controller is not responding
SuperStation One units ship with SNAC bypass switched on by default, and while bypass is enabled the built-in PlayStation ports are disabled in favour of the external SNAC connection. Set the physical SNAC bypass switch to disabled.
Then open the PlayStation core settings and change the input option from DualShock to SNAC. Once that is done you can also change the memory card type, which stays locked until the input option is switched over.
You need to restart a game
Open the in-game menu and choose the reboot option. That soft resets the game without powering the whole console down.
Composite or S-Video stopped working after an update
An update replaced the SuperStation-specific core framework with the mainline MiSTer version. Flip DIP switch 3 inside the right flap to up and change the .ini selection in the menu. Then fix your downloader.ini so it does not happen again.
Console Mode broke after an update
This is almost always a downloader.ini problem. Restore your backup, put the Retro Remake ini in place, and run the update again.
update_all fails with an error about dates
The script checks the system clock. Without the RTC battery installed, the console can lose the correct time and update_all will refuse to run. Getting the clock set, or fitting the battery, clears it.