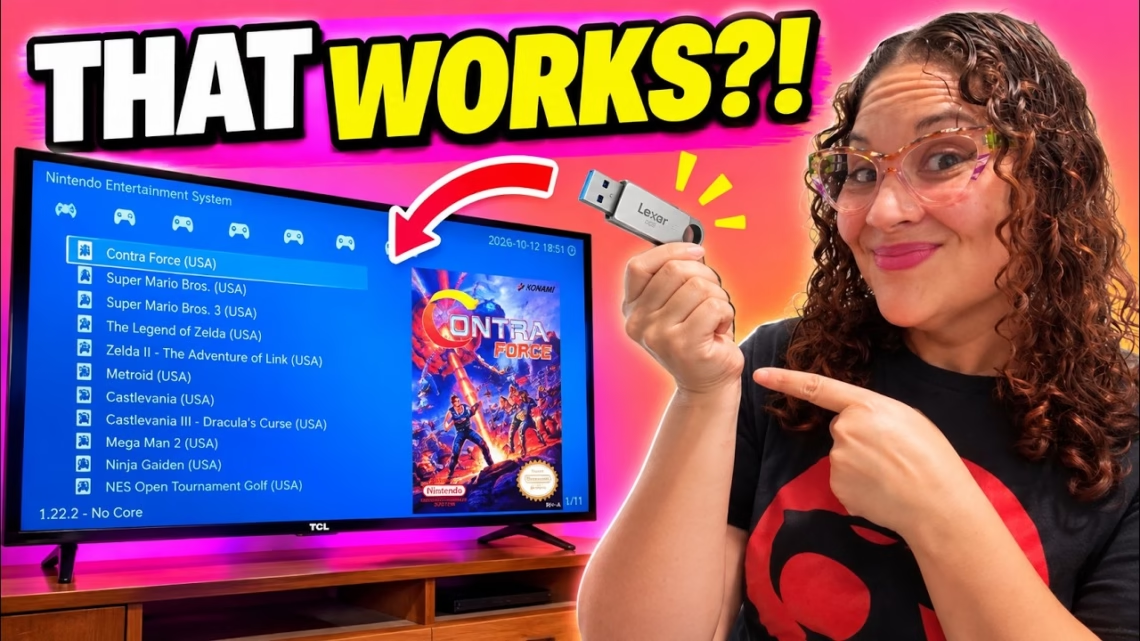
Can you plug a USB drive full of retro games into your TV and just start playing, with no PC and no extra console? Many of you asked after our RetroBat video, where we showed how to build your own retro gaming drive. Back then the answer was no, because RetroBat needs Windows.
A lot of TVs now run Google TV, which is basically Android, and Android can run emulators. So we plugged a USB drive into our TCL TV and spent an afternoon finding out what works and what doesn’t. Some of it works really well. This guide covers the setup that worked, the problems we hit and how we fixed them.
What you need
- A Google TV or Android TV. We used a TCL 55-inch QM7K. Samsung, LG and Roku TVs won’t work, because you can’t install emulators on them without hacking them. A Google TV streaming box does the same job if it has a USB port or an adapter.
- A USB drive. We used a 128GB Lexar drive with both USB-A and USB-C.
- A controller. We used the 8BitDo Pro 3 over Bluetooth.
- Your own games and BIOS files, legally obtained from games and consoles you own.
Step 1: Format the drive and add your games
Erase the drive with SD Card Formatter on your computer and format it as exFAT, which Google TV can read and which handles files over 4GB. Make sure you pick the right drive, because this erases everything on it.
Create a folder for each system at the top of the drive: NES, SNES, Genesis, Neo Geo, PSX and so on. Only copy the games you actually want. Don’t dump an entire NES library on the drive and expect the TV to load it quickly. Eject the drive properly before unplugging it.
Step 2: Plug it into the TV
Plug the drive into a USB port. If the TV asks how to use it, choose removable or portable storage. Never choose device storage, because that erases the drive. You can check the TV sees it under All Settings > System > Storage.
Step 3: Install RetroArch and pair your controller
Open the Play Store, search for RetroArch and install it. During setup it asks you to connect a controller, so just click Continue for now.
To pair the 8BitDo Pro 3, set the switch on the back to D, then on the TV go to Settings > Remotes and Accessories > Pair Accessory and put the controller in pairing mode. The Play Store version of RetroArch has the cores built in, so there is nothing extra to download.
Why RetroArch? The apps that didn’t work
RetroArch isn’t pretty and wasn’t our first choice. We tried three other apps first.
- Daijishō: a nice-looking launcher that many Android guides recommend, but it wasn’t available in the Play Store for our TV.
- Lemuroid: installed fine, but when we tried to choose our games folder the TV said we had no app that could do that. Many Google TVs leave out the folder picker that phones have, so any app that relies on it gets stuck. Installing file manager apps didn’t help.
- Papaya: a newer launcher still in early testing. It found our drive through the My Files app, but launching a game gave a blank screen.
RetroArch was the one that worked from start to finish.
Step 4: Update RetroArch before anything else
We learned this the hard way. At one point RetroArch couldn’t see our USB stick. Giving it permission to read all files didn’t help, because that settings screen just flashes and closes on our TV. Updating RetroArch fixed it immediately. Update first.
To find your drive, go to Load Content and keep choosing Parent Directory until you reach the storage folder. Your USB drive shows up as a folder with a random-looking code.
Step 5: BIOS files
Systems like PlayStation, Saturn, Sega CD and Neo Geo need a BIOS. Normally you’d point RetroArch at a BIOS folder under Settings > Directory > System/BIOS, but on our TV RetroArch wouldn’t let us select that folder on the drive. Every other folder worked.
Our workaround: put a copy of each BIOS file inside its own game folder, so the PlayStation BIOS goes in the PSX folder and the Saturn BIOS in the Saturn folder. Then in RetroArch go to Settings > Core and turn on System Files are in Content Directory. Finally go to Main Menu > Configuration File > Save Current Configuration so RetroArch remembers it.
Step 6: Import your games
Go to Import Content > Scan Directory, open your drive and choose Scan This Directory. Do it from the top of the drive and RetroArch goes through every system folder in one pass.
A couple of systems didn’t show up. Our PlayStation and Neo Geo games were skipped, so use Manual Scan for those: pick the folder, choose the system name and pick the core. For PlayStation that’s PCSX ReARMed.
Neo Geo was trickier: opening a game showed us the file inside the zip instead of starting it. The fix is Manual Scan with the FinalBurn Neo core and Scan Inside Archives turned off. Neo Geo games must stay zipped and keep their original file names. You’ll also see neogeo.zip in the list. That’s the BIOS, not a game, so ignore it.
Step 7: Box art and a better menu
Go to Online Updater > Playlist Thumbnails Updater and pick each system to download box art. Then the change that made the biggest difference: Settings > User Interface > Menu Driver > XMB. Save your configuration and restart. XMB is the same style of menu as the PlayStation 3, and it looks much better on a TV and is much easier to use with a controller. Now it feels like a console.
How well does it play?
- Great: NES, Super Nintendo, Sega Genesis, PlayStation and Neo Geo (once the scanning was sorted).
- Playable: PSP. The PSP core inside RetroArch struggled, but the standalone PPSSPP app from the Play Store ran our games well at 1x resolution. It looks a little soft on a 55-inch 4K screen.
- Not good: N64 runs but was too laggy to enjoy. Dreamcast crashed as soon as the game started, with both Flycast and Redream.
In short, everything up through the 16-bit era plus the original PlayStation is a yes. Once you get into the 3D era, a TV chip runs out of steam.
Four things we wish we’d known
- Treat the drive like a game cartridge. Plug it in before opening RetroArch and leave it in while you play. When we unplugged it, our game list disappeared and only came back after restarting RetroArch with the drive in.
- Always eject the drive properly from your computer. If you just yank it out, the TV might not read it correctly.
- Turn on Game Mode on your TV. It cuts input lag, which matters for retro games.
- If something isn’t working, update RetroArch first. It fixed our biggest problem.
Is it worth it?
Yes, if your TV runs Google TV. It took an afternoon of trial and error, but once RetroArch was updated and set up, NES, Super Nintendo, Sega Genesis, PlayStation and Neo Geo all played great from the drive. It isn’t perfect: there are Google TV quirks, and the 3D era is where a TV chip hits its limit. If you want everything including N64, Dreamcast and Saturn, a cheap mini PC or old laptop running Batocera or RetroBat is still the way to go.
Related: Make Your Own Portable Gaming USB Stick, Batocera Setup Guide and How to Install Batocera on an Old Computer.